Moving a Fish Tank: The Ultimate Guide for a Safe & Easy Move
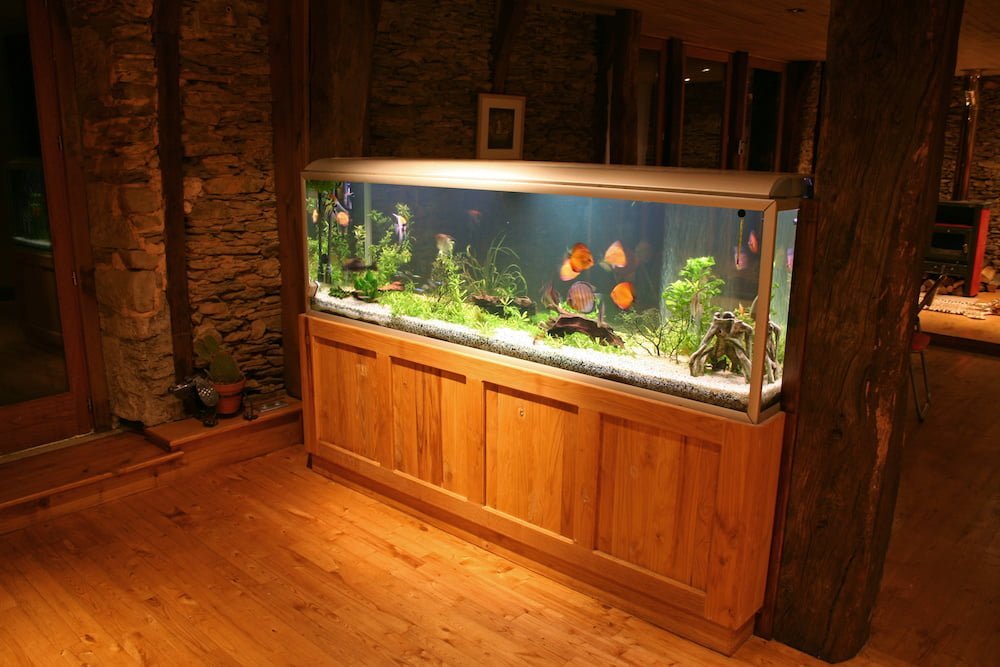
Moving a fish tank can be a challenging task, especially when you’re concerned about the safety and well-being of your aquatic friends. Whether you’re relocating to a new home or simply rearranging your living space, taking the necessary precautions is crucial to ensure a smooth and stress-free transition for both your fish and their habitat.
Proper planning and preparation are key to successfully moving a fish tank, regardless of its size or the distance of the move. From gathering essential equipment to carefully transferring your fish and live plants, every step of the process requires attention to detail and a gentle touch.
We’ll walk you through the entire process of moving a fish tank, providing you with the knowledge and confidence to tackle this challenge head-on. We’ll cover everything from pre-move preparation to setting up your tank in its new location, ensuring that your fish remain healthy and happy throughout the journey.
Preparing For The Move
Preparing for the move is a crucial step in ensuring a successful and stress-free relocation of your fish tank. By gathering the necessary equipment, preparing your fish, and considering your moving options, you can minimize the risk of damage to your tank and the stress on your aquatic pets.
Gathering Essential Equipment
Having the right equipment on hand is essential for a smooth fish tank move. Here are the key items you’ll need:
Aquarium Fish Net
A sturdy, appropriately sized fish net is crucial for safely transferring your fish from the tank to their temporary transportation containers. Choose a net with a soft, fine mesh to avoid injuring your fish during the move.
Fish Transportation Containers
Secure, leak-proof containers are necessary for transporting your fish. Opt for clean, food-grade plastic containers with tight-fitting lids to prevent spills and ensure your fish have enough space to move comfortably.
Clean Plastic Tubs Or Buckets With Lids
Large, clean plastic tubs or buckets with lids are perfect for holding plants, decorations, and tank water during the move. Ensure they are free of any soap residue or chemicals that could harm your aquatic life.
Siphon Hose
A siphon hose is an essential tool for removing water from your tank and transferring it to the transportation containers. Choose a hose long enough to reach from your tank to the containers without causing spillage.
Battery-Powered Air Pump And Airstone
To keep the water in your fish transportation containers oxygenated during the move, use a battery-powered air pump and airstone. This will help reduce stress on your fish and ensure they have enough oxygen throughout the journey.
Battery-Operated Heater (For Tropical Fish)
If you have tropical fish that require specific water temperatures, a battery-operated heater is a must-have. This will help maintain a stable temperature in the transportation containers, reducing the risk of temperature shock.
When gathering your equipment, don’t forget to check out these best packing tips when moving to ensure you have everything you need for a successful move.
Preparing Your Fish
Properly preparing your fish for the move is essential to minimize stress and ensure their well-being during the transition. Here are two key steps to take:
Avoid Feeding Fish 24 Hours Before The Move
To reduce waste production and maintain better water quality during the move, avoid feeding your fish for 24 hours prior to the relocation. This will also help prevent any digestive issues that may arise due to the stress of the move.
Perform Partial Water Changes Leading Up To The Move
In the weeks leading up to the move, perform regular partial water changes to maintain optimal water quality. This will help ensure your fish are in the best possible health before the relocation, making them better able to handle the stress of the move.
Considering Your Fish Tank Moving Options
When it comes to moving your fish tank, you have two main options: a DIY move or hiring professional movers. Let’s explore each option:
DIY Move
If you feel confident in your ability to safely move your fish tank, a DIY move can be a cost-effective option. However, it’s essential to weigh the pros and cons of DIY moving or hire professional movers to determine the best course of action for your specific situation.
Hiring Professional Movers
If you’re unsure about moving your fish tank yourself or have a particularly large or complex setup, hiring professional movers may be the way to go. When considering this option, it’s important to ask: do moving companies pack for you? Some moving companies offer specialized services for aquariums, ensuring your tank and fish are in good hands.
If you decide to hire movers, be sure to choose reliable home movers with experience in handling delicate items like fish tanks. This will give you peace of mind knowing your aquatic pets are in capable hands throughout the relocation process.
Moving Day: Step-By-Step Guide
Moving your fish tank requires careful execution to ensure the safety and well-being of your aquatic friends. Here’s a step-by-step guide to help you navigate the process smoothly.
Transferring Fish And Live Plants
The first priority is to safely relocate your fish and live plants to their temporary homes during the move. This step is crucial to minimize stress and ensure their survival.
Using A Siphon Hose To Fill Transportation Containers
When I first moved my fish tank, I found that using a siphon hose to transfer water from the tank to the transportation containers was a game-changer. It not only made the process easier but also ensured that my fish would be transported in familiar water, reducing the likelihood of shock or stress.
Separating Aggressive Fish
If you have aggressive fish species in your tank, it’s essential to keep them separated from the more peaceful inhabitants during the move. Trust me, you don’t want to deal with the added stress of fish conflicts on top of the relocation itself.
Securing Fish In Containers Or Bags
Once your fish are in their designated transportation containers, it’s crucial to secure them properly to prevent any mishaps. If you opt for bags, be sure to remove excess air and tie them securely to avoid leaks. For containers, double-check that the lids are tightly fitted to prevent spills during transit.
Removing Tank Elements
Before you can drain your tank, you’ll need to remove all the elements inside, including live plants, decorations, and equipment. This step requires a bit of patience and organization.
Removing And Packing Live Plants
Gently remove your live plants from the tank and place them in water-filled containers or seal them in plastic bags with moistened paper towels. This will keep them hydrated and protected during the move.
Removing Decorations And Storing In Water-Tight Containers
Take out any decorations, such as rocks, driftwood, or ornaments, and store them in water-tight containers. A helpful tip is to use some of the tank water to keep them moist and preserve the beneficial bacteria that have accumulated on their surfaces.
Turning Off And Removing Filters, Heaters, And Other Equipment
Don’t forget to unplug and remove all electrical equipment, such as filters, heaters, and pumps. If your filter media is still relatively new, consider placing it in a container with some tank water to preserve the beneficial bacteria, which will help kick-start your tank’s cycle in your new home.
Draining The Tank
With all the elements removed, it’s time to drain your tank in preparation for the move. This step can be a bit messy, so be sure to have towels and a bucket nearby.
Siphoning Out Remaining Water
Use your trusty siphon hose to remove as much water as possible from the tank. Be mindful of disposing of the water properly, as it may contain chemicals or waste that could harm your plumbing or the environment.
Removing Substrate Or Gravel
Once the water is drained, it’s time to remove the substrate or gravel from the tank. Place it in a clean, dry container for transport, and if you plan on reusing it in your new setup, consider giving it a thorough rinse to remove any accumulated debris or waste.
Packing The Tank For Transport
With your tank empty and clean, it’s time to pack it securely for transport to prevent any damage during the move. This is where your bubble wrap and blankets come in handy.
Wrapping The Tank In Protective Materials
Wrap your tank in bubble wrap, foam sheets, or blankets to cushion it during transit. Pay extra attention to the corners and edges, as these areas are most vulnerable to damage if the tank shifts or bumps against other objects.
Securing The Tank To Prevent Damage During Transit
Place your wrapped tank in a sturdy, appropriately sized box or crate. Use additional packing materials, such as foam peanuts or crumpled paper, to fill any empty spaces and prevent the tank from shifting during transport. Seal the box securely with packing tape, and don’t forget to label it as fragile to ensure careful handling.
Setting Up The Tank In Your New Home
You’ve safely transported your fish tank to your new home, and now it’s time to set it up and create a comfortable environment for your aquatic pets. I’ll walk you through the process of positioning and leveling the tank, adding substrate and decorations, filling the tank with treated water, and reintroducing your fish to their new home.
Positioning And Leveling The Tank
Choose a suitable location for your fish tank in your new home, ensuring that it’s away from direct sunlight and drafts. Use a level to ensure that the tank is perfectly balanced, as an uneven tank can cause stress on the seams and potentially lead to leaks.
Adding Substrate And Decorations
Once your tank is in position, add your cleaned substrate or gravel to the bottom of the tank. Arrange any decorations, such as rocks, driftwood, or ornaments, in a manner that creates a visually appealing and functional layout for your fish.
Filling The Tank And Treating The Water
Begin filling your tank with fresh, dechlorinated water. As you fill the tank, add a water conditioner to remove any harmful chemicals, such as chlorine or chloramine, which can be detrimental to your fish’s health.
Continue filling the tank until it reaches the desired level.
Reinstalling Equipment And Allowing The Tank To Reach Desired Temperature
Reinstall your filter, heater, and any other equipment you removed during the move. Ensure that all equipment is properly connected and functioning correctly.
Allow your tank to reach the desired temperature for your fish species before reintroducing them to the tank.
Acclimating And Introducing Fish To The Tank
Acclimating your fish to their new environment is crucial to minimize stress and ensure a smooth transition. This process involves gradually introducing them to the new tank water to avoid shock.
Drip Acclimation Process
One of the most effective methods for acclimating fish is the drip acclimation process. This involves slowly dripping water from the new tank into the container holding your fish, allowing them to gradually adjust to the new water parameters.
Transferring Fish Into The Tank
After acclimating your fish, gently transfer them into the new tank using a net or a container. Be careful not to cause any unnecessary stress during this process, and ensure that all fish are accounted for and released into the tank.
Monitoring The Tank Post-Move
In the days and weeks following the move, it’s essential to keep a close eye on your tank to ensure that your fish are adjusting well to their new environment. Regularly test your tank water for ammonia, nitrite, and nitrate levels to ensure that the nitrogen cycle is functioning correctly.
If you notice any spikes in these parameters, take appropriate measures to correct them, such as performing water changes or adjusting your filtration system.
Monitor your fish for any signs of stress, such as lethargy, loss of appetite, or abnormal behavior. If you notice any of these signs, take steps to identify and address the reason, such as adjusting water parameters, improving water quality, or providing a more suitable environment for your fish.
Moving A Fish Tank Short Distances
Relocating a tank within the same room or to an adjacent room can be a simpler process than moving it to a new home. However, it’s still crucial to take the necessary precautions to ensure the safety and well-being of your fish during the move.
Preparing For A Short-Distance Move
Gather all the necessary equipment, such as temporary containers for your fish and plants, a siphon hose, and a clean bucket. Ensure that you have a clear path to the tank’s new location and that the area is suitable for your aquarium.
Transferring Fish And Plants To Temporary Containers
Using a fish net, gently transfer your fish into temporary containers filled with water from the tank. Separate any aggressive fish from peaceful ones to avoid stress or injury.
Remove any live plants and place them in separate containers with tank water to keep them moist during the move.
Draining The Tank And Securing It For Transport
Using a siphon hose, drain as much water from the tank as possible into a clean bucket. You can reserve some of this water for refilling the tank later.
Remove any remaining decorations or equipment and store them safely. If your tank has a removable lid, secure it in place to prevent any damage during the move.
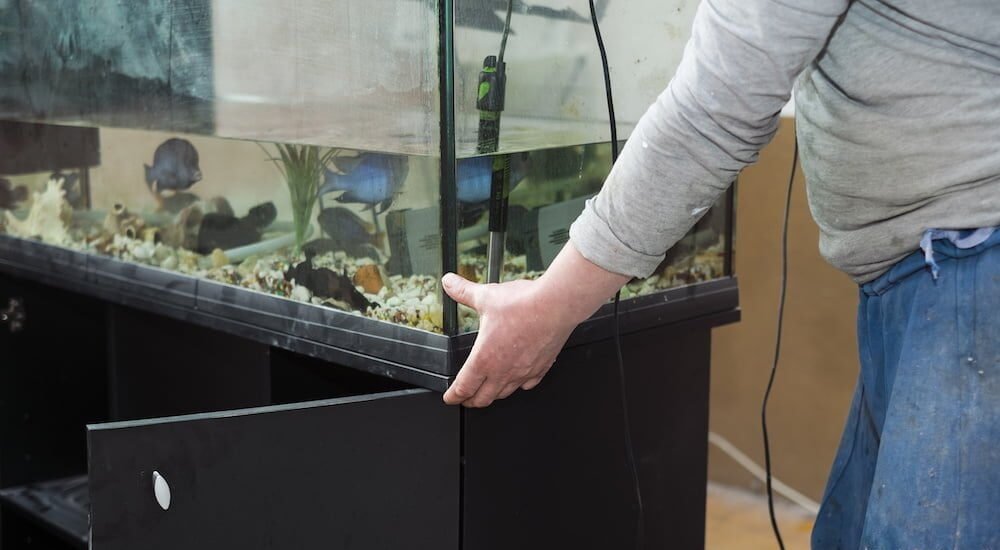
Carefully lift the tank and move it to its new location, ensuring that you have a firm grip and support the bottom of the tank. Ask for assistance from a friend or family member if the tank is too heavy to move alone.
Refilling The Tank And Reintroducing Fish
Once your tank is in its new location, add fresh dechlorinated water and any reserved water from the original tank. Ensure that the water temperature and parameters are suitable for your fish before reintroducing them.
Gently acclimate your fish to the new water by floating them in their temporary containers on the surface of the tank for about 15 minutes. After acclimation, carefully release your fish into the tank and observe them for any signs of stress or unusual behavior.
Reinstall any equipment, such as filters and heaters, and ensure that they are functioning correctly. Monitor your tank closely over the next few days to ensure that your fish are adjusting well to their new environment.
Frequently Asked Questions
- What’s the best way to move a fish tank?
Planning ahead, gathering necessary supplies, and following a step-by-step process is the best way to move a fish tank. This includes preparing your fish and plants, draining the tank, carefully transporting it, and setting it up in the new location while ensuring you have the proper equipment and taking precautions to minimize stress on your fish during the move.
- Can you move a fish tank with water in it?
Moving a fish tank with water in it is not recommended as it can put excessive stress on the tank’s seams and increase the risk of leaks or cracks. The water’s movement during transport can also disturb the tank’s inhabitants and cause them undue stress, so it is best to drain the tank before moving it and refill it with fresh, dechlorinated water at the new location.
- Can you move a fish tank with gravel in it?
Although it is possible to move a fish tank with gravel in it, it is not advisable. Gravel adds significant weight to the tank, making it more difficult to move and increasing the risk of damage to the tank or injury to yourself, so it is better to remove the gravel before moving the tank and clean it thoroughly before reintroducing it to the tank at the new location.
- How do you transport fish when moving long-distance?
When moving fish long-distance, use appropriate containers, such as fish bags or buckets with lids, and ensure that the water is well-oxygenated by using a battery-powered air pump and airstone to maintain proper oxygenation during transport.
Avoid feeding your fish for 24 hours before the move to reduce waste production, and keep the containers insulated to maintain a stable temperature.
- How do you move a heavy fish tank?
Moving a heavy fish tank requires careful planning and preparation. First, drain the tank and remove any gravel, decorations, and equipment to make it lighter, then use a sturdy dolly or enlist the help of friends or family members to lift and transport the tank safely while ensuring that the tank is well-supported and secured during transport to prevent damage.
If you are unsure about your ability to move the tank safely, consider hiring professional movers who have experience with aquariums.
Conclusion
Moving a fish tank takes some careful planning and the right equipment. The key is to ensure the safety and well-being of your aquatic pets during the relocation process. By following the proper steps and using the appropriate tools, you can successfully transport your fish tank to its new home without any issues. By following a step-by-step approach, you can keep your aquatic pets safe and minimize their stress during the move.
Preparation is key – start well in advance and make sure you have all the necessary supplies on hand. Take your time with each stage of the process, from transferring your fish to setting up their new home. With a little patience and attention to detail, you’ll have your thriving aquarium up and running in no time.
Related Articles
Moving Out Soon? Your Guide to Start Saving Today

Moving out is a thrilling milestone that brings both excitement and financial challenges. Proper preparation and strategic saving are crucial for a smooth transition to independent living, requiring more than just accumulating a lump sum. Beginning this process requires a thorough approach, from evaluating your current financial circumstances to preparing for lasting stability. By implementing […]
Read MoreFirst Time Moving Out? Your Essential Checklist & Guide

Stepping out on your own for the first time is a thrilling adventure that marks the beginning of true independence. It’s a journey filled with excitement, but it also comes with its fair share of challenges that require thoughtful preparation and planning. Moving from your family home to your own space involves more than just […]
Read More

Table of Contents

Atlas Van Lines, Inc. U.S. DOT No. 125550 (TM & © 2024 AWGI LLC.) | G.P.S.C. 4917 | IL C.C. 4246 | NJPC 00104 | Cal-T 110193
© 2024 Nelson Westerberg, Inc. All Rights Reserved Worldwide.